
Create a Stunning Mask Cursor Reveal Effect with React and Framer Motion
Learn how to build a custom mask cursor effect that reveals hidden content on hover using React, Framer Motion, and Tailwind CSS.
If you’re looking to spice up your website’s interactivity and design, a mask cursor is a slick, modern feature that can really grab attention. In this blog, I’ll show you how to build a custom mask cursor using React, Framer Motion, and Tailwind CSS — from scratch.
Step 1: Setup the Boilerplate Layout
Let’s begin by creating a full screen layout that includes two overlapping paragraphs. One will be visible by default and other will only be revealed under the mask cursor.
// src/app/page.tsx

import MaskCursor from "@/components/mask-cursor1";

export default function Home() {
  return (
    <div>
      <MaskCursor />
    </div>
  );
}
// src/components/mask-cursor.tsx
import React from "react";
const MaskCursor = () => {
return (
<div className=" w-screen h-screen ">
<div className=" h-full w-full text-5xl font-semibold leading-12 flex items-center justify-center">
<p className=" max-w-2xl">
A visual designer - with skills that haven't been replaced by A.I. -
making good shit only if the paycheck is equally good.
</p>
</div>
<div className=" h-full w-full text-5xl font-semibold leading-12 flex items-center justify-center">
<p className=" max-w-2xl">
I'm a <span className=" text-orange-600">selectively skilled</span>{" "}
product designer with strong focus on producing high quality &
Impactful digital experiences.
</p>
</div>
</div>
);
};
export default MaskCursor;It will look something like below.
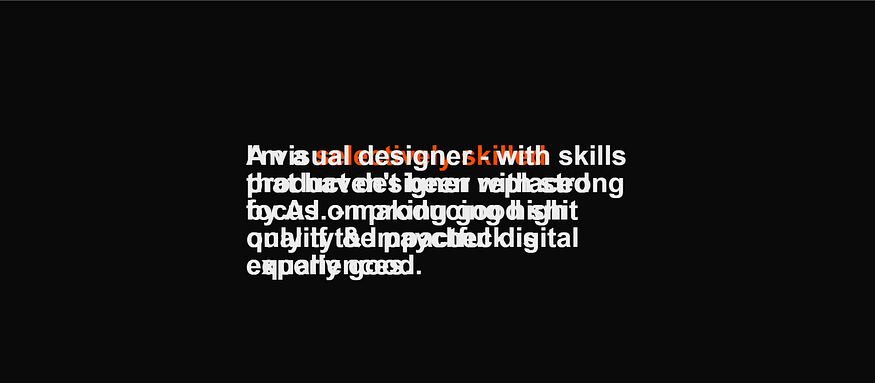
Step 2: Add a Mask Image to Create the Reveal Effect
To make the magic happen, we’ll use a mask image that follows the cursor and reveals the hidden layer beneath it. Tailwind CSS supports mask-image with utilities, so we can create a circular mask using a custom SVG and apply it to the foreground text.
<!-- public/circle.svg -->
<svg xmlns="http://www.w3.org/2000/svg" width="400" height="400">
  <circle cx="200" cy="200" r="200" fill="white" />
</svg>
// src/components/mask-cursor.tsx
import React from "react";
const MaskCursor = () => {
return (
<div className=" w-screen h-screen ">
<div className=" absolute h-full w-full text-5xl font-semibold leading-12 flex items-center justify-center mask-[url(/circle.svg)] mask-no-repeat bg-orange-500 text-black">
<p className=" max-w-2xl">
A visual designer - with skills that haven't been replaced by A.I. -
making good shit only if the paycheck is equally good.
</p>
</div>
<div className=" h-full w-full text-5xl font-semibold leading-12 flex items-center justify-center ">
<p className=" max-w-2xl">
I'm a <span className=" text-orange-600">selectively skilled</span>{" "}
product designer with strong focus on producing high quality &
Impactful digital experiences.
</p>
</div>
</div>
);
};
export default MaskCursor;Let see how it looks.

Now that the masked layer is visible, let’s animate it. Using Framer Motion, we’ll track the cursor and update the mask-position so the circular mask follows the mouse — revealing the hidden text as you move around.
Step 4: Add a Mask Image to Create the Reveal Effect
To make the mask follow the cursor, we’ll first create a custom hook that tracks the mouse position. Then, we’ll use motion to smoothly animate the mask’s position using those coordinates.
// hooks/useMousePosition.ts
import { useEffect, useState } from "react";

export const useMousePosition = () => {
  const [mousePosition, setMousePosition] = useState({ x: 0, y: 0 });

  useEffect(() => {
    const handleMouseMove = (event: MouseEvent) => {
      setMousePosition({
        x: event.clientX,
        y: event.clientY,
      });
    };

    window.addEventListener("mousemove", handleMouseMove);
    return () => window.removeEventListener("mousemove", handleMouseMove);
  }, []);

  return mousePosition;
};
Now import and use the hook inside your component. We’ll animate the mask-position using the cursor coordinates
//src/components/mask-cursor.tsx

"use client";
import React from "react";
import { motion } from "framer-motion";
import { useMousePosition } from "@/app/hooks/useMousePosition";

const MaskCursor = () => {
  const { x, y } = useMousePosition();
  const size = 120;

  return (
    <div className="w-screen h-screen relative overflow-hidden">
      {/* Top Masked Layer */}
      <motion.div
        animate={{
          WebkitMaskPosition: `${x - size / 2}px ${y - size / 2}px`,
          maskPosition: `${x - size / 2}px ${y - size / 2}px`,
        }}
        transition={{
          type: "tween",
          ease: "backOut",
        }}
        className="absolute inset-0 bg-orange-500 text-black text-5xl font-semibold leading-12 flex items-center justify-center mask-[url(/circle.svg)] mask-no-repeat"
        style={{
          WebkitMaskSize: `${size}px`,
          maskSize: `${size}px`,
        }}
      >
        <p className="max-w-2xl text-center">
          A visual designer – with skills that haven't been replaced by A.I. –
          making good shit only if the paycheck is equally good.
        </p>
      </motion.div>

      {/* Base Layer */}
      <div className="absolute inset-0 text-5xl font-semibold leading-12 flex items-center justify-center">
        <p className="max-w-2xl text-center">
          I'm a <span className="text-orange-600">selectively skilled</span>{" "}
          product designer with strong focus on producing high quality & impactful digital experiences.
        </p>
      </div>
    </div>
  );
};

export default MaskCursor;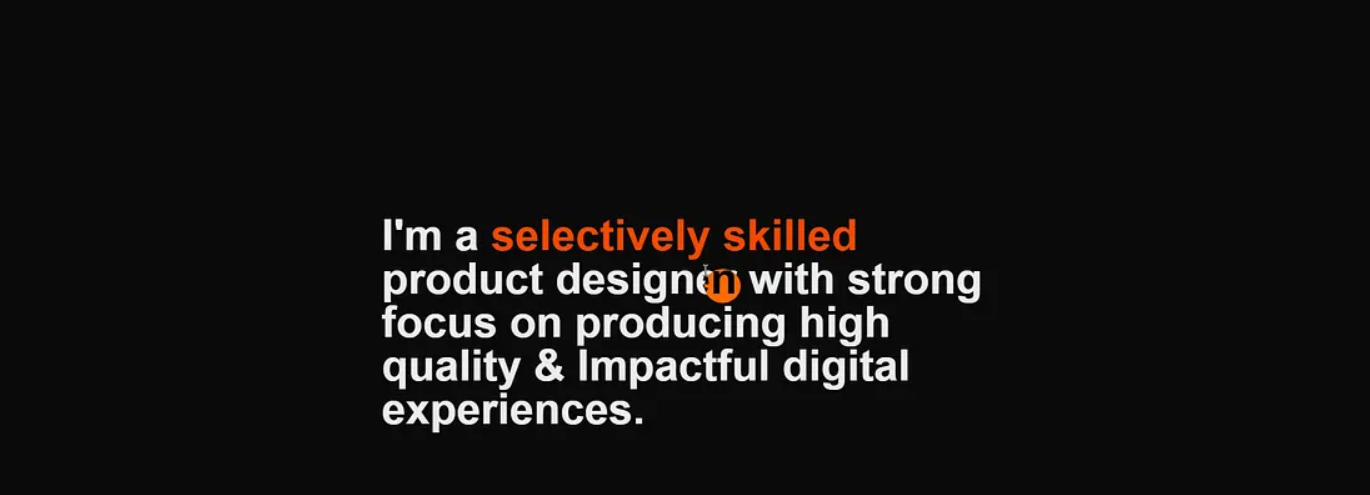
You can now see the masked text when you hover over the paragraph, but it might not look quite right yet. The masked SVG circle may be too small, and the position might not align perfectly with the cursor. To fix this, we need to adjust the size of the mask and fine-tune its positioning so that the cursor and the circular mask move in sync and create a cleaner reveal effect.
Step 5: Fine tune Mask Size and Cursor Alignment for Perfect Reveal
We will keep track of whether we hovered over the paragraph and adjust position and size of masked svg for perfect reveal
// src/components/mask-cursor.tsx
"use client";
import React, { useState } from "react";
import { motion } from "motion/react";
import { useMousePosition } from "@/app/hooks/useMousePosition";

const MaskCursor = () => {
  const [isHovered, setIsHovered] = useState(false);
  const { x, y } = useMousePosition();
  const size = isHovered ? 300 : 40;
  return (
    <div className=" w-screen h-screen ">
      <motion.div
        animate={{
          maskPosition: `${x - size / 2}px ${y - size / 2}px`,
          maskSize: `${size}px`,
        }}
        transition={{
          type: "tween",
          ease: "backOut",
        }}
        className="  absolute h-full w-full text-5xl font-semibold leading-12 flex items-center justify-center mask-[url(/circle.svg)] mask-no-repeat   bg-orange-500 text-black"
      >
        <p
          onMouseOver={() => setIsHovered(true)}
          onMouseOut={() => setIsHovered(false)}
          className=" max-w-2xl"
        >
          A visual designer - with skills that haven't been replaced by A.I. -
          making good shit only if the paycheck is equally good.
        </p>
      </motion.div>
      <div className=" h-full w-full text-5xl font-semibold leading-12 flex items-center justify-center  ">
        <p className=" max-w-2xl">
          I'm a <span className=" text-orange-600">selectively skilled</span>{" "}
          product designer with strong focus on producing high quality &
          Impactful digital experiences.
        </p>
      </div>
    </div>
  );
};

export default MaskCursor;
And there you have it! You’ve just built a dynamic mask-cursor reveal effect using Next.js, Tailwind CSS, and Framer Motion.
If you found this useful or inspiring, feel free to share, comment, or reach out! And stay tuned for more creative UI tricks using React and motion-powered magic.